

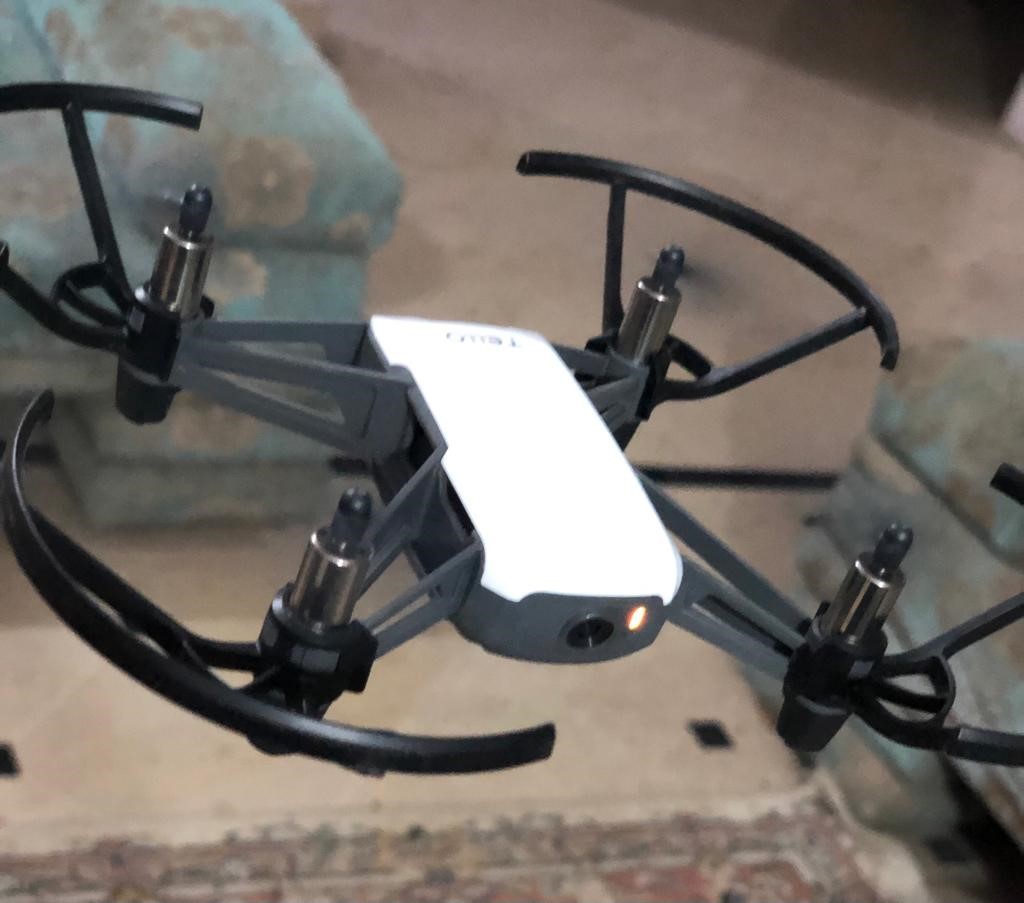
In this blog, we will be learning how to program some basic movements in a drone with the help of Python. The drone we will use is Dji Tello. We will learn drone programming with Scratch, Swift, and even Python.
A step-by-step guide to learning drone programming
We will go step by step through how to issue commands through the Wi-Fi network
Installing Python libraries
First, we will need some Python libraries installed onto our laptop. Let’s install them with the following two commands:
pip install djitellopy
pip install opencv-python
The djitellopy is a python library making use of the official Tello sdk. The second command is to install opencv which will help us to look through the camera of the drone. Some other libraries this program will make use of are ‘keyboard’ and ‘time’. After installation, we import them into our project
import keyboard as kp

from djitellopy import tello

import time

import cv2
Read more about Machine Learning using Python in cloud
Connection
We must first instantiate the Tello class so we can use it afterward. For the following commands to work, we must switch the drone to On and find and connect to the Wi-Fi network generated by it on our laptop. The tel.connect() command lets us connect the drone to our program. After the connection of the drone to our laptop is successful, the following commands can be executed.
tel = tello.Tello()
tel.connect()
Sending ending commands to the drone
We will build a function which will send movement commands to the drone.
def getKeyboardInput(img):

    kp.init()

    lr, fb, ud, yv = 0, 0, 0, 0

    speed = 50

    if kp.getKey("LEFT"):

        lr = -speed

    elif kp.getKey("RIGHT"):

        lr = speed


    if kp.getKey("UP"):

        fb = speed

    elif kp.getKey("DOWN"):

        fb = -speed


    if kp.getKey("w"):

        ud = speed

    elif kp.getKey("s"):

        ud = -speed


    if kp.getKey("a"):

        yv = speed

    elif kp.getKey("d"):

        yv = -speed


    if kp.getKey("l"):

        tel.land()

    if kp.getKey("t"):

        tel.takeoff()


    if kp.getKey("z"):

        cv2.imwrite("Resources/images/{time.time}.jpg", img)

        time.sleep(0.05)

    return [lr, fb, ud, yv]

tel.streamon()
The drone takes 4 inputs to move so we first take four values and assign a 0 to them. The speed must be set to an initial value for the drone to take off. Now we map the keyboard keys to our desired values and assign those values to the four variables. For example, if the keyboard key is “LEFT” then assign the speed with a value of -50. If the “RIGHT” key is pressed, then assign a value of 50 to the speed variable, and so on. The code block below explains how to map the keyboard keys to the variables:
if kp.getKey("LEFT"):

        lr = -speed

    elif kp.getKey("RIGHT"):

        lr = speed
This program also takes two extra keys for landing and taking off (l and t). A keyboard key “z” is also assigned if we want to take a picture from the drone. As the drone’s video will be on, whenever we click on “z” key, opencv will save the image in a folder specified by us. After providing all the combinations, we must return the values in a 1D array. Also, don’t forget to run tel.streamon() to turn on the video streaming.
We must make the drone take commands until and unless we press the “l” key for landing. So, we have a while True loop in the following code segment:
Calling the function
while True:

    img = tel.get_frame_read().frame

    img = cv2.resize(img,(360,360))

    cv2.imshow('Picture',img)

    cv2.waitKey(1)

    vals = getKeyboardInput(img)

    tel.send_rc_control(vals[0],vals[1],vals[2],vals[3])

    time.sleep(0.05)
The get_frame_read() function reads the video frame by frame (just like an image) so we can resize it and show it on the laptop screen. The process will be so fast that it will completely look like a video being displayed.
The last thing we must do is to call the function we created above. Remember, we have a list being returned from it. Each value of the list must be sent as a separate index value to the send_rc_control method of the tel object.
Execution
Before running the code, confirm that the laptop is connected to the drone via Wi-Fi.
Now, execute the python file and then press “t” for the drone to take off. From there, you can press the keyboard keys for it to move in your desired direction. When you want the drone to take pictures, press “z” and when you want it to land, press “l”
Conclusion
In this blog, we learned how to issue basic keyboard commands for the drone to move. Furthermore, we can also add more keys for inbuilt Tello functions like “flip” and “move away”. Videos can be captured from the drone and stored locally on our laptop